How to Insulate Your Camper Trailer for Extreme Weather – Four-Season Ready Guide
How to Insulate Your Camper Trailer for Extreme Weather
DIY Guide to Four-Season Comfort – Beat Extreme Cold, Heat, and Everything In Between
Introduction
Most standard camper trailers are built for mild 3-season use and offer minimal insulation. Extreme weather — sub-zero winters, scorching summers, high winds, or heavy humidity — turns them into uncomfortable (or even unsafe) spaces. Proper insulation dramatically reduces heat loss/gain, lowers heating/cooling costs, prevents condensation & mold, and protects plumbing from freezing.
Whether you're full-timing, boondocking in the mountains, or desert camping, these upgrades make your trailer truly four-season capable.
1. Best Insulation Materials for Extreme Conditions
| Material | R-Value (per inch) | Best For | Pros | Cons |
|---|---|---|---|---|
| Closed-Cell Spray Foam | 6–7 | Walls, roof, floor (pro install) | Air-seals perfectly, moisture-resistant, structural | Expensive, hard to DIY/remove |
| Polyiso (Polyisocyanurate) Foam Board | 5.6–6.5 | Walls, ceiling, floor | High R-value, foil-faced reflects heat | Performance drops in very cold temps |
| XPS (Extruded Polystyrene) Foam Board | 4.5–5 | Underbelly, exterior additions | Excellent moisture resistance | Heavier, more expensive than EPS |
| EPS (Expanded Polystyrene) / Styrofoam | 3.6–4.2 | Budget floor/wall fills | Cheap, lightweight | Lower R-value, absorbs moisture if not sealed |
| Reflectix / Radiant Barrier Foil | Variable (with air gap) | Windows, hot climates | Reflects radiant heat, easy install | Needs air gap to work best |
| Fiberglass Batt | 3–4 | Existing cavities | Affordable, common | Settles, poor in moisture |
2. Step-by-Step Insulation Upgrades
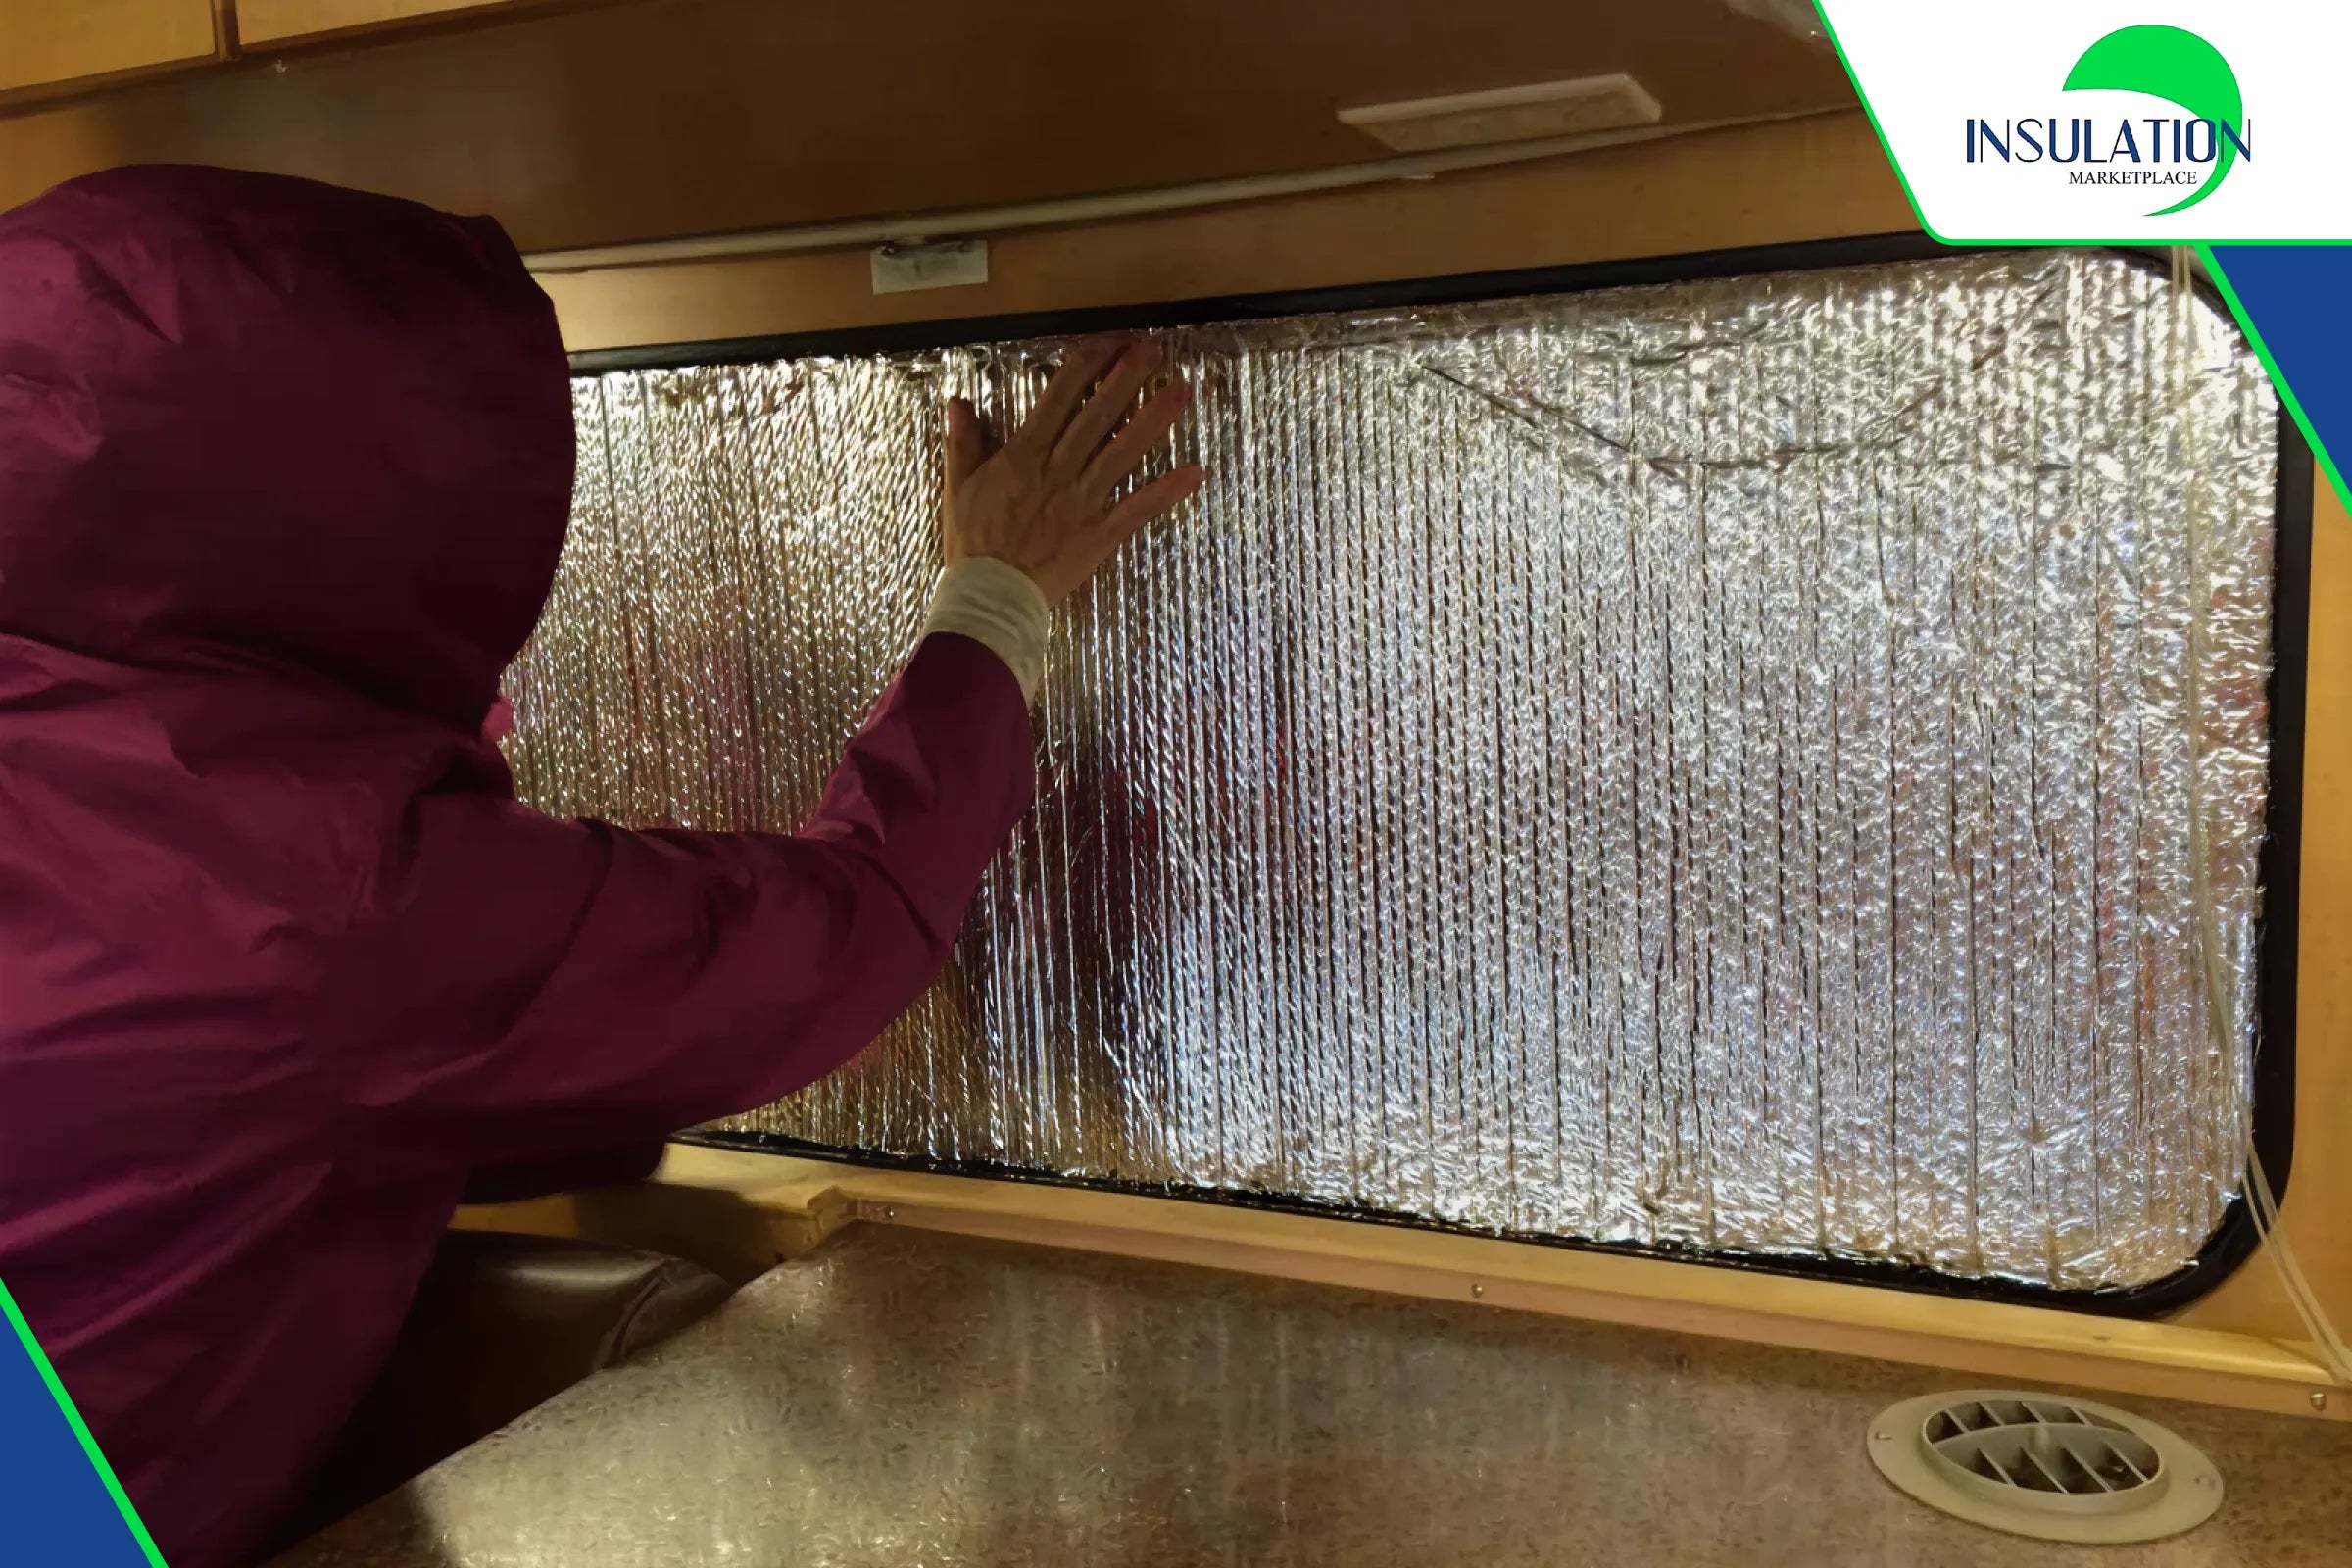
Windows & Doors (Biggest Heat Loss Areas)
- Cover with Reflectix or bubble-foil cut-to-fit inserts (removable for travel)
- Add thermal curtains, blackout liners, or heavy fleece blankets
- Apply weatherstripping or magnetic seals around frames
- For extreme cold: Use rigid foam board cutouts taped in place overnight

Walls & Ceiling
- Remove interior panels if possible (or access via small openings)
- Fill cavities with foam board, spray foam, or wool batts
- Seal gaps with expanding foam or caulk
- Add reflective barrier layer behind panels
- For quick upgrade: Hang insulated wall liners or use 3M Thinsulate SM600L blankets
Floor & Underbelly
- Insulate belly with rigid XPS foam boards secured between joists
- Seal underside with flexible waterproof coating (e.g., Liquid Rubber)
- Add heat tape to pipes & tanks if needed

Roof & Vents
- Add foam board above ceiling panels or reflective barrier
- Use vent insulators (foam plugs or magnetic covers)
- Consider a white or reflective roof coating to reduce summer heat
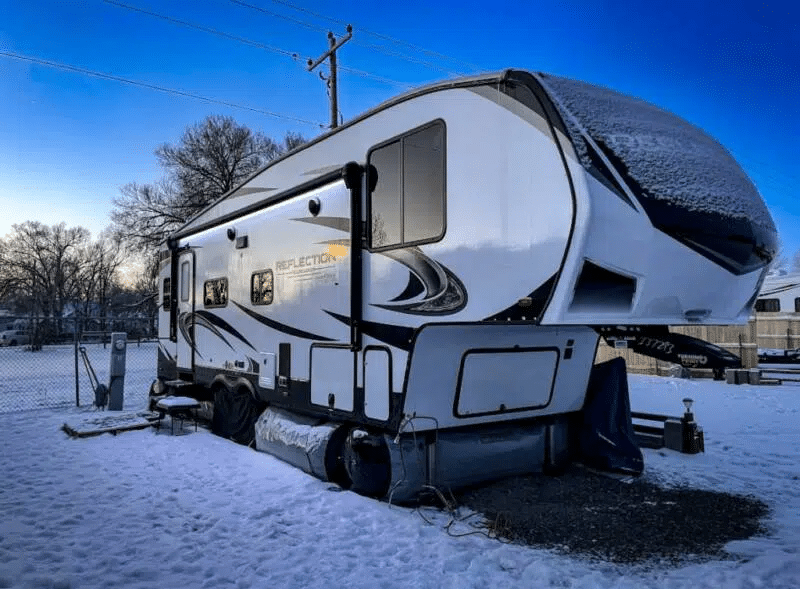
3. Essential Extreme-Weather Add-On: Skirting
Skirting blocks wind and cold from under the trailer — one of the single biggest improvements for winter. Options include:
- Vinyl or insulated fabric panels (The Skirting Co.)
- Inflatable AirSkirts (easy setup/removal)
- DIY foam board + tarp skirting
4. Additional Tips for Extreme Conditions
- Seal EVERY leak — use silicone caulk, foam tape, door sweeps
- Use a dehumidifier or moisture absorbers to fight condensation
- Layer rugs/carpets over floor for extra warmth
- Combine with efficient heating (diesel, propane, electric) & cooling (fans, AC shading)
- Reduce intervals for maintenance in dust/salt environments
Conclusion
Insulating your camper trailer for extreme weather transforms it from a seasonal toy into a reliable, comfortable home on wheels. Start with easy wins (windows, skirting, seals), then layer in rigid foam or spray for serious protection. Always prioritize moisture control to avoid mold and rot. With the right setup, you'll stay cozy whether facing -20°F blizzards or 110°F desert heat.
Stay comfortable. Stay adventurous.


评论
发表评论