Trailer Brake Upgrade Tutorial: Safety Tips for Overlanding
DIY guide to upgrading your offroad trailer with electric brakes — plus critical safety practices for loaded overlanding rigs — ~2,050 words
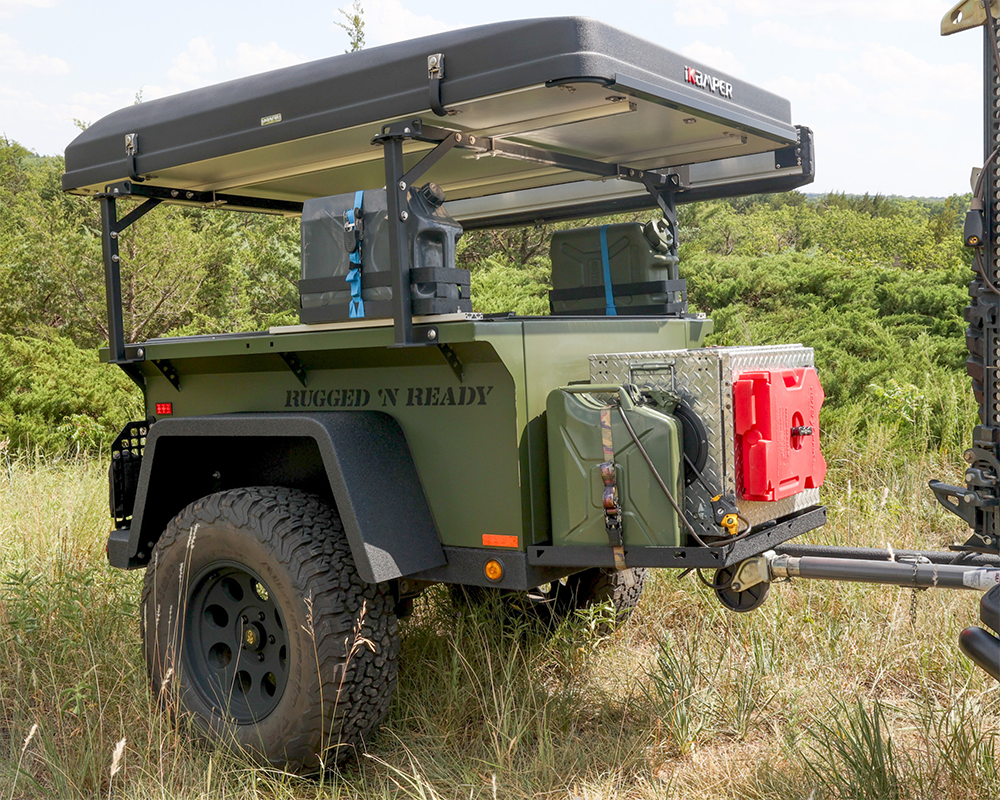
A loaded overland trailer navigating rough terrain — upgraded brakes are essential for safe control on steep descents and loose surfaces.
Overlanding with a trailer means carrying serious weight: recovery gear, water, fuel, camping setup, spare parts. That added mass dramatically increases stopping distances, especially downhill on loose gravel, mud, or rocky trails. Without trailer brakes, your tow vehicle's brakes bear the full load—leading to fade, overheating, jackknifing, or loss of control. Upgrading to electric brakes gives proportional, independent braking power directly to the trailer wheels, improving safety, stability, and legality (most states require brakes on trailers over 3,000 lb GVWR).
This tutorial covers installing electric drum brakes on a typical single- or tandem-axle offroad trailer (e.g., 3,500 lb axles common in DIY or commercial overland builds), wiring a brake controller in your tow rig, and key safety tips tailored to overlanding. Expect 6–12 hours total, depending on your mechanical experience.
Why Electric Brakes for Overlanding Trailers?
Electric brakes excel offroad because:
- Proportional braking (via controller) matches trailer effort to tow vehicle input
- Manual override lets you apply trailer brakes independently to straighten a fishtailing rig
- No hydraulic lines to leak or freeze in extreme conditions
- Easier to maintain in the field than surge/hydraulic systems
Popular controllers for overlanding: REDARC Tow-Pro Elite/Liberty (rugged, waterproof, excellent for tilt/rough terrain), Tekonsha P3/Prodigy, or Curt Echo (wireless for quick vehicle swaps).

REDARC or similar proportional controller mounted in the tow vehicle—dial in gain for loaded overland runs.
Part 1: Trailer-Side Upgrade – Installing Electric Brakes
Step 1: Gather Parts & Tools
- Electric brake kit (Dexter, Lippert, or TruRyde 10–12" drums for 3,500 lb axles)
- Backing plates, magnets, shoes, springs, adjusters
- Brake drums/hubs (pre-greased if possible)
- Heavy-gauge wire (10–12 AWG for brakes), connectors, heat-shrink
- 7-pin connector upgrade if needed
- Tools: jack stands, torque wrench, wire strippers, multimeter, grease gun

Typical 10" electric brake backing plate with magnet—inspect for even wear before install.
Step 2: Jack & Disassemble Wheels/Axles
Safely jack trailer, support on stands. Remove wheels, then hubs/drum (may need puller). Clean axle spindle, inspect bearings/seals—repacks or replace as needed.
Step 3: Install Backing Plates & Brakes
Bolt new backing plate to axle flange (torque to spec, usually 50–80 ft-lbs). Install shoes, springs, adjuster, and magnet/armature. Connect wires (usually white ground, black/blue hot). Route wires through axle or frame grommets toward tongue.

Fully assembled electric brake internals—ensure proper shoe-to-drum clearance and secure wiring.
Step 4: Reassemble & Wire to Trailer Plug
Reinstall drums/hubs (torque lug nuts), adjust brakes (spin wheel, tighten adjuster until slight drag). Run brake wire (blue typically) from both axles in parallel to 7-pin plug. Ground to frame. Use loom for protection against rocks/vibration.

Standard 7-pin wiring—blue wire carries brake signal from controller to trailer brakes.
Part 2: Tow Vehicle – Installing Brake Controller
Step 1: Choose & Mount Controller
REDARC Tow-Pro Elite is ideal for overlanding (handles tilt, waterproof). Mount under dash or in accessible spot. Many plug into factory harness (e.g., under dash on modern trucks).
Step 2: Wiring
Connect to 12V battery (fused), ground, brake switch (for manual override), and output to 7-pin blue pin. Test with multimeter: 0–12V variable on blue when braking.
Step 3: Calibrate & Test
Follow controller manual—drive, adjust gain so trailer brakes engage smoothly without lockup. Test manual override on gravel to simulate trail correction.
Overlanding-Specific Safety Tips
1. Load Balance & Weight Distribution
Place 60% weight forward of axle. Heavy items low and centered. Tongue weight 10–15% of trailer GVW prevents sway.
2. Tire Pressure Management
Lower trailer tires 5–10 psi below tow vehicle for better flotation and compliance on rough terrain—check cold pressures daily.
3. Brake Adjustment & Testing
Adjust brakes so wheels drag slightly when spun by hand. Test on flat: trailer should hold vehicle stopped with manual override. On descents, use low gear + engine braking first, then light trailer brake application.
4. Emergency Procedures
If trailer sways: gently apply trailer-only brakes to straighten. Never slam tow brakes hard—fade risk skyrockets with heavy load.
5. Maintenance in the Field
Inspect magnets/shoes every 3,000 miles or after deep water/mud. Carry spare parts: magnets, springs, wire. Grease bearings annually or after submersion.
6. Controller Settings for Terrain
Lower gain on loose surfaces to prevent lockup; increase on steep pavement descents. Proportional controllers auto-adjust better than time-delayed ones offroad.
Common Mistakes to Avoid
- Undersized wire causing voltage drop → weak braking
- Poor grounds leading to intermittent failure
- No breakaway system (required in many areas—install battery + switch)
- Skipping load tests before remote trips
Conclusion: Brake Smart, Travel Far
Upgrading to electric brakes transforms your overland trailer from a liability into a controlled, confidence-inspiring companion. Combined with proper loading, tire management, and controller tuning, you'll stop safer, handle descents better, and reduce wear on your tow rig. Budget $400–900 for parts; the peace of mind on remote trails is priceless.
Test everything loaded in a safe area before your next expedition. Safe overlanding starts with strong, reliable brakes.


评论
发表评论